Our DIY Kitchen - The Planning Stage
We FINALLY gave our 90‘s basic builder-grade kitchen an upgrade! After living in our home for ten years, we decided it was about time to do something about this (not the worst, but definitely not the best) kitchen.
I will share all the details from our planning phase of the kitchen, including the inspiration photo that started it all, the "original" project list, and those good ole before photos. (I even found a few gems from before we moved in)
THE PLANNING STAGES: INSPIRATION, FLOOR PLAN, DESIGN BOARDS, + PROJECT LIST
Inspiration
The inspiration phase began with an endless Pinterest and Instagram search. I usually have a pretty good idea of the direction for any space in our home. With the kitchen, that was not the case. I liked a little too much of everything and had to focus on narrowing down the specific design.
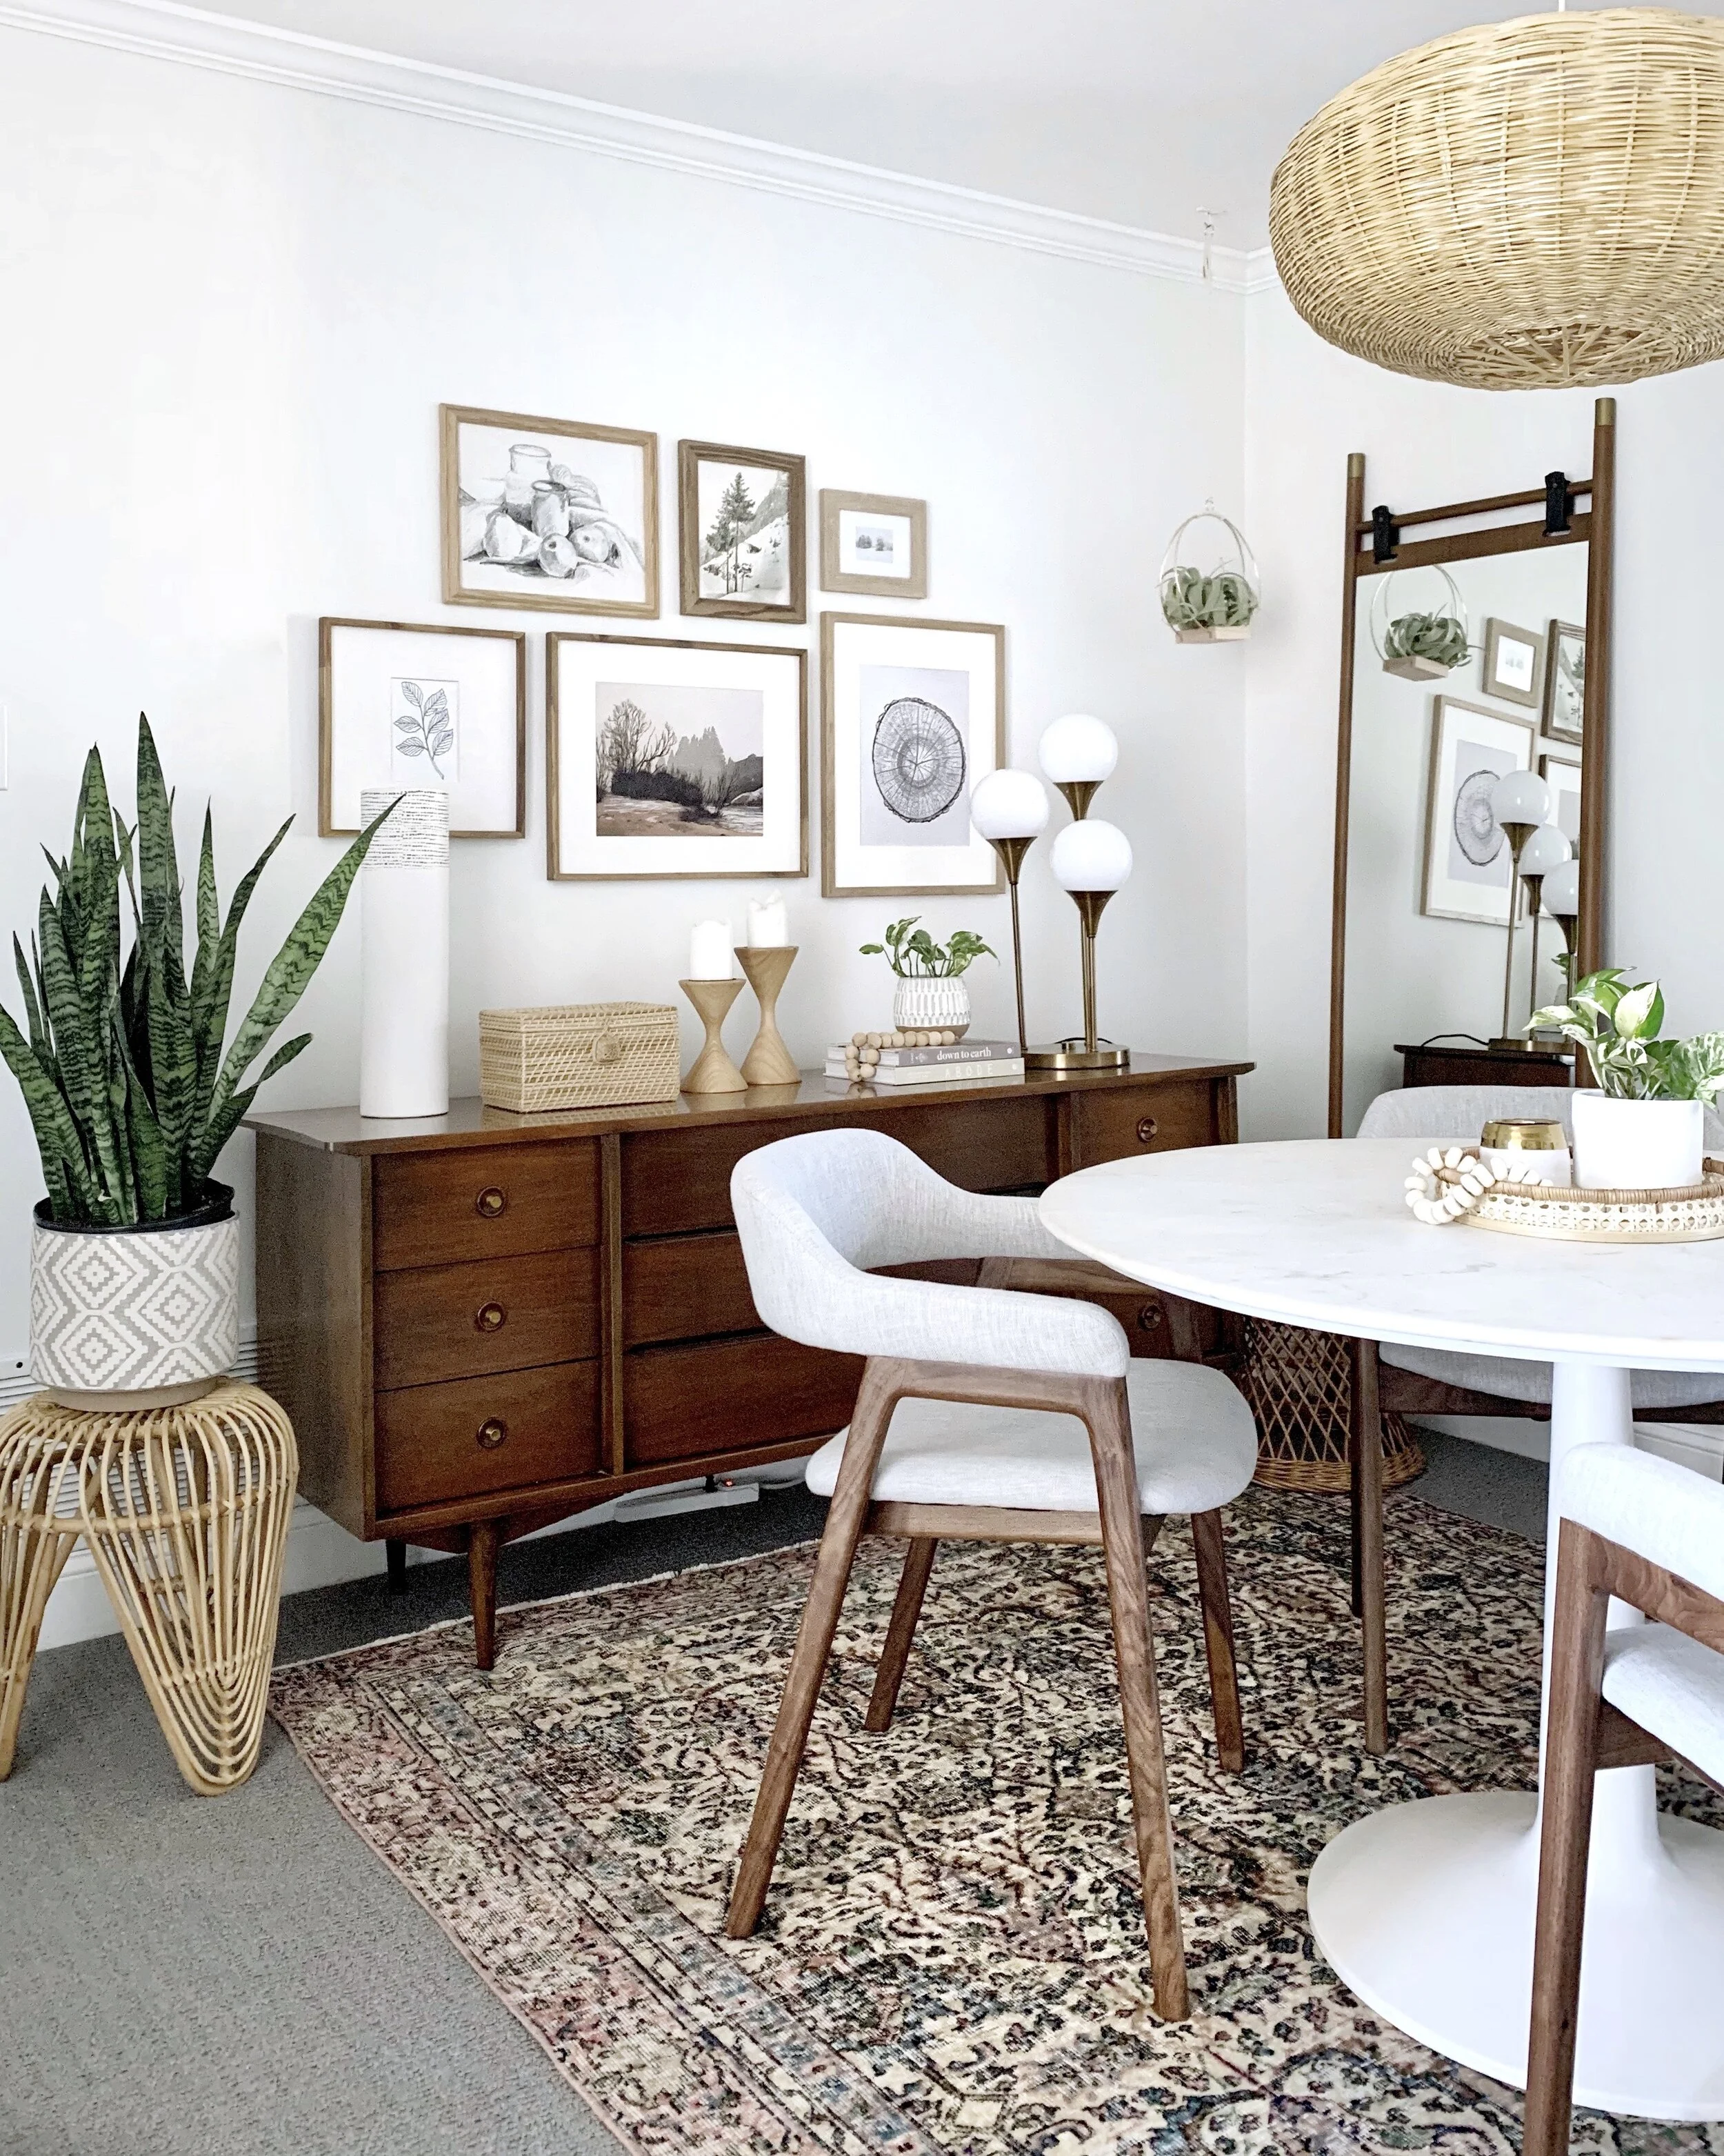
There was a major ah-ha moment when I saw this kitchen by Tiffany Leigh and Autumn Hachey. It solved a HUGE design dilemma - what to do with our eyesore of a peninsula. I loved the half-round trim detail so much it became the jumping-off point for the rest of the design.

Source // Design: @tiffanyleighdesign and @autumnhacheydesign Photography: @lomillerphoto.
I also really wanted to remove our microwave from over the stove. The idea of doing a feature vent hood caught my eye, adding a focal point and element of style to the center of our kitchen. I loved how Courtney @girlandgrey executed her One Room Challenge kitchen, and I found myself super drawn to the idea.

Source // Design: Courtney @girlandgrey
If we were going to replace our microwave with a faux vent hood (faux meaning recirculating because we do not have exterior venting), it needed to be practical with lots of storage. When I started contemplating the vent hood, my friend Bri Moysa wrapped up her laundry room update and did pop open doors. I immediately knew exactly how we could execute the extra storage without compromising the design.

This photo inspired raising our 30" upper cabinets to the ceiling and adding floating shelves underneath. It was the best way to reuse our cabinets, eliminate the awkward space above, and gain additional storage with easy access to our dinnerware.

Source // Design: Joanna Gaines
Floor Plan
Before anything begins, we decide on floor plan changes. I wanted to pull off a small island terribly, but the more we looked at the design, it would be a little too tight with all of the cooking and moving around we do in the kitchen. So we opted for the original layout and decided to play with the upper cabinets/floating shelves and create built-ins on the far side of the kitchen.
Creating the kitchen rendering helps to have a better visual of the floating shelves and vent hood.

Design Board
The design board is the direction for the entire project. It’s where ideas and products start to come together and provide an overall feel of the kitchen. Our goal was to create a light and airy space, with organic elements and a touch of mid-century. Referring back to the design board keeps us on track with any decisions during the project phase.

Project List
The last part was the project list, or as I like to call it, the "original" list because with any kitchen, it always seems to grow and grow further into the project. We separated everything into two phases. The first part was everything in the kitchen, and the second was the eat-in side of the kitchen with new built-ins.
Phase 1
Cabinets - Raise to the ceiling, Paint, Trim, Hinges, + Hardware
Peninsula Half Round Wrap
Floating Shelves
Countertop - DIY Solution
Lighting
Faucet
Phase 2
Built-in Cabinets and Bench
Floor Trim
Beadboard Popcorn Ceiling
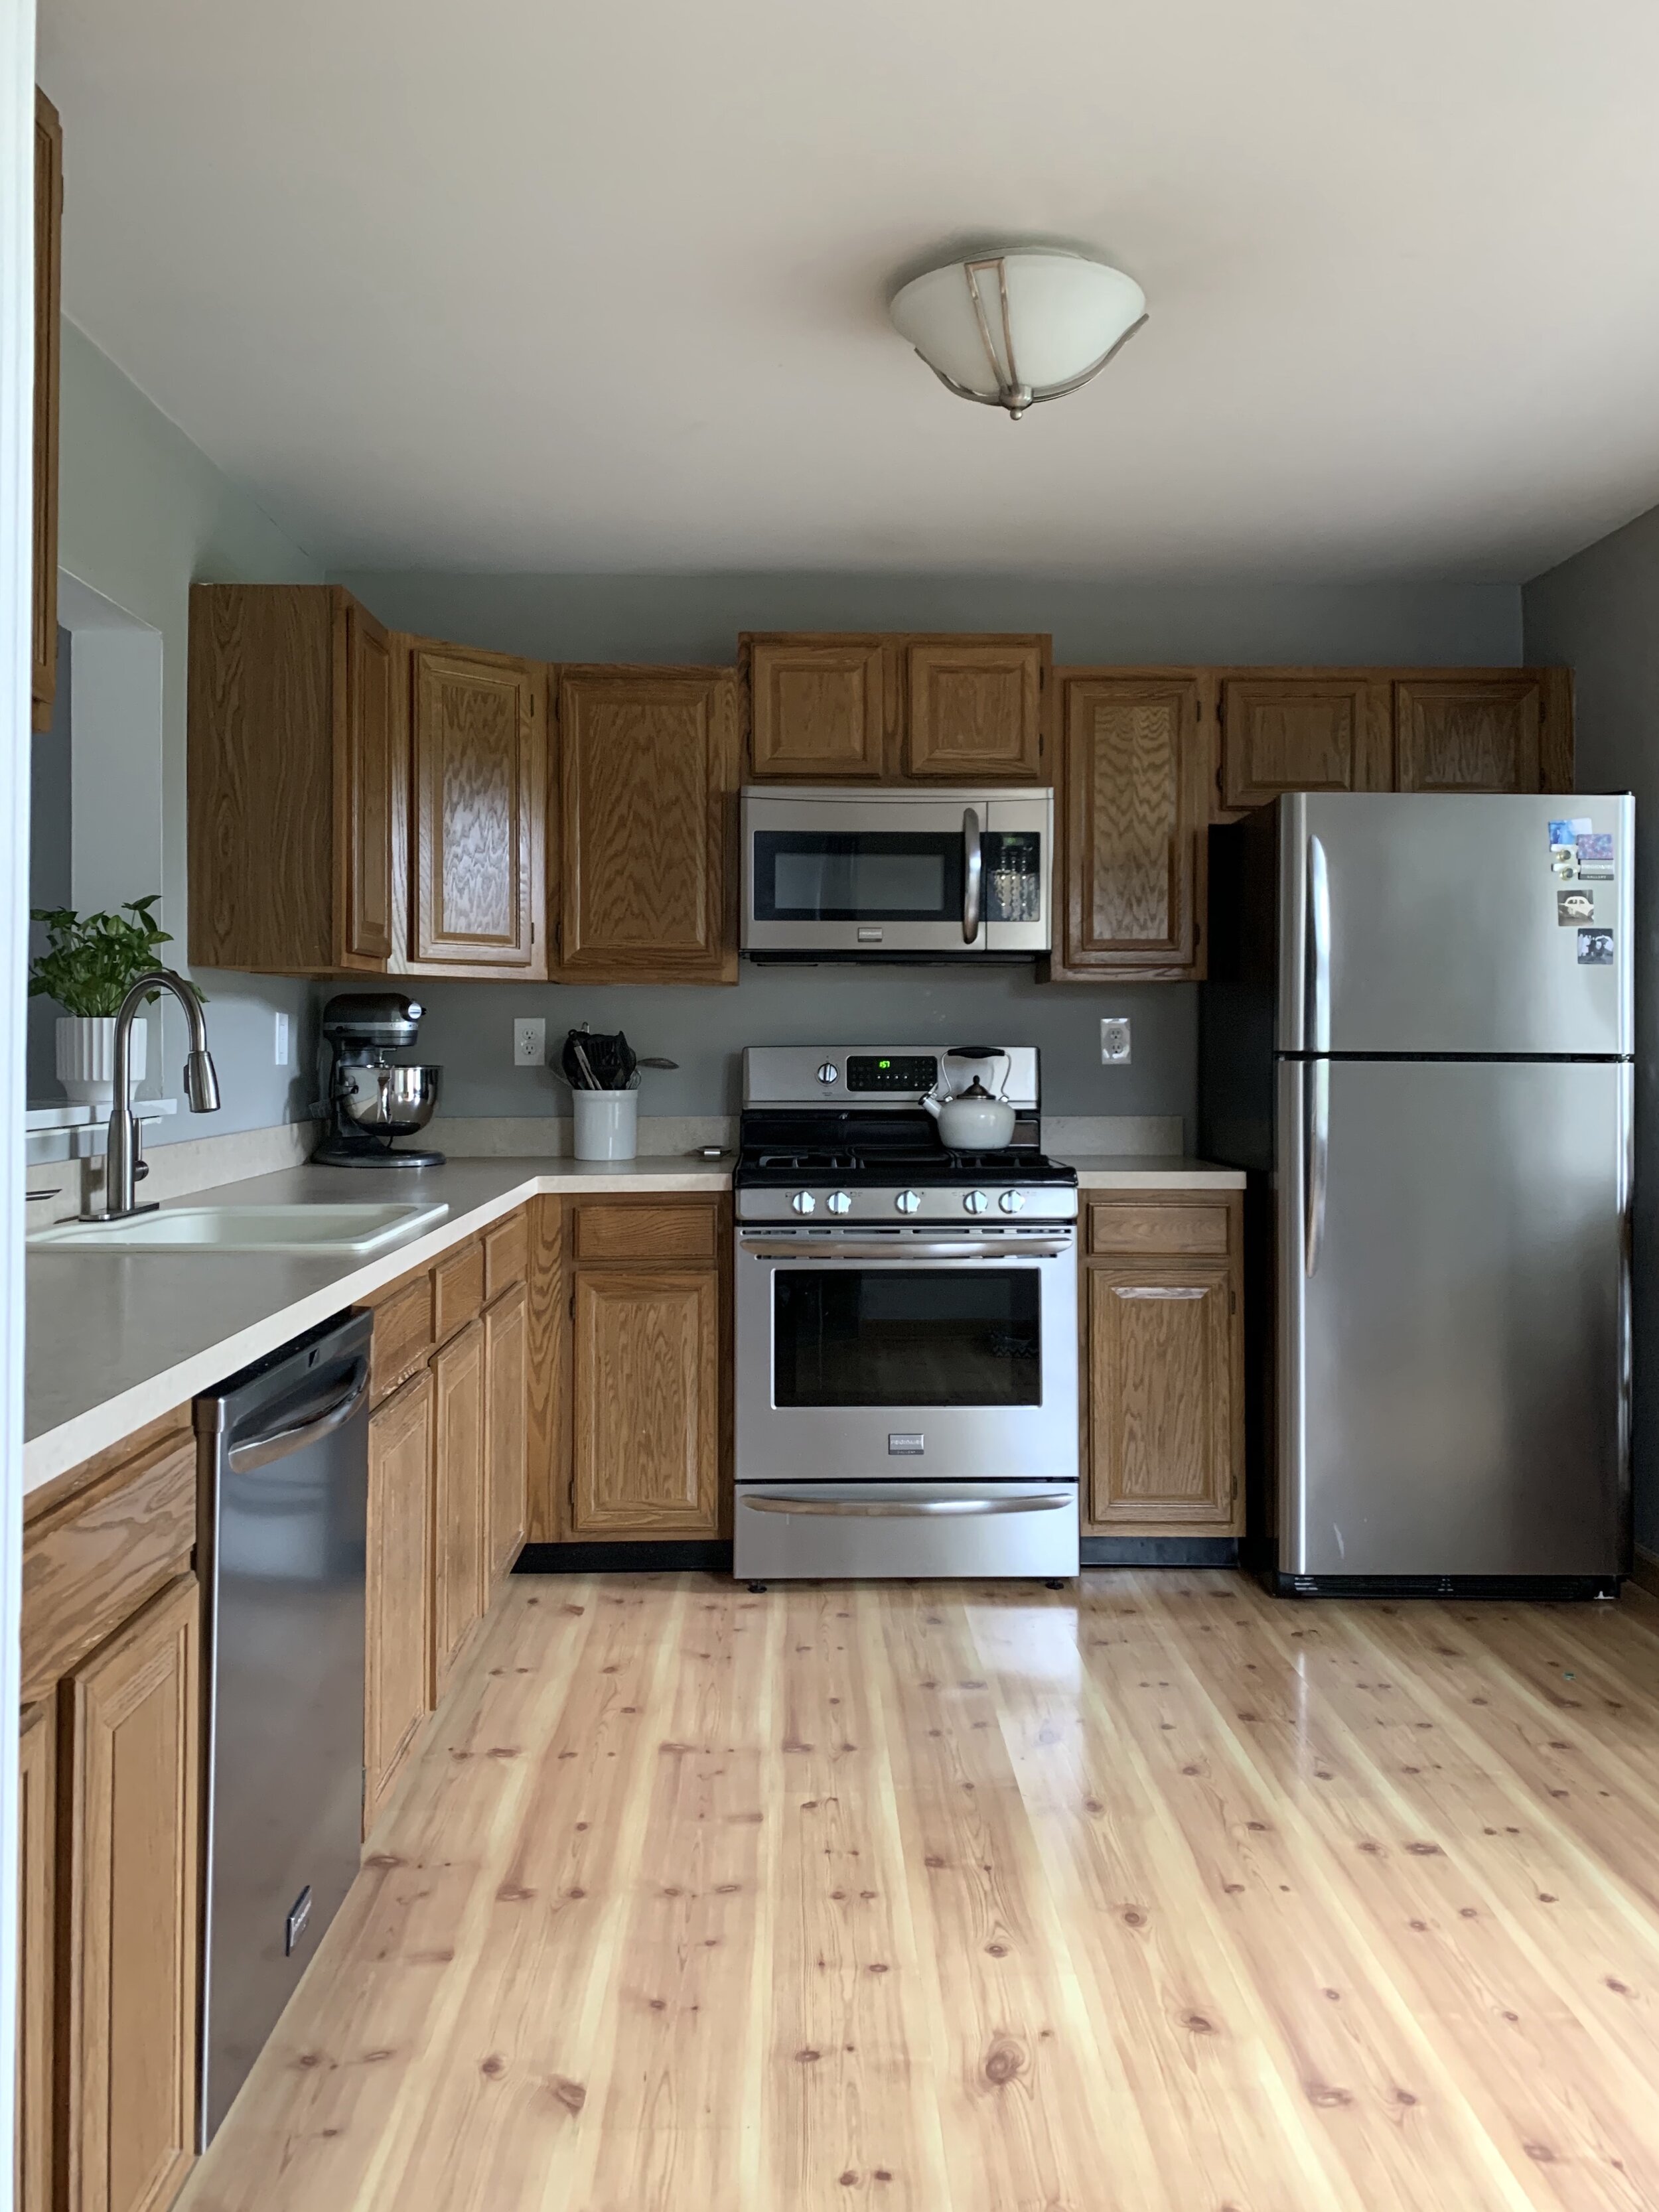
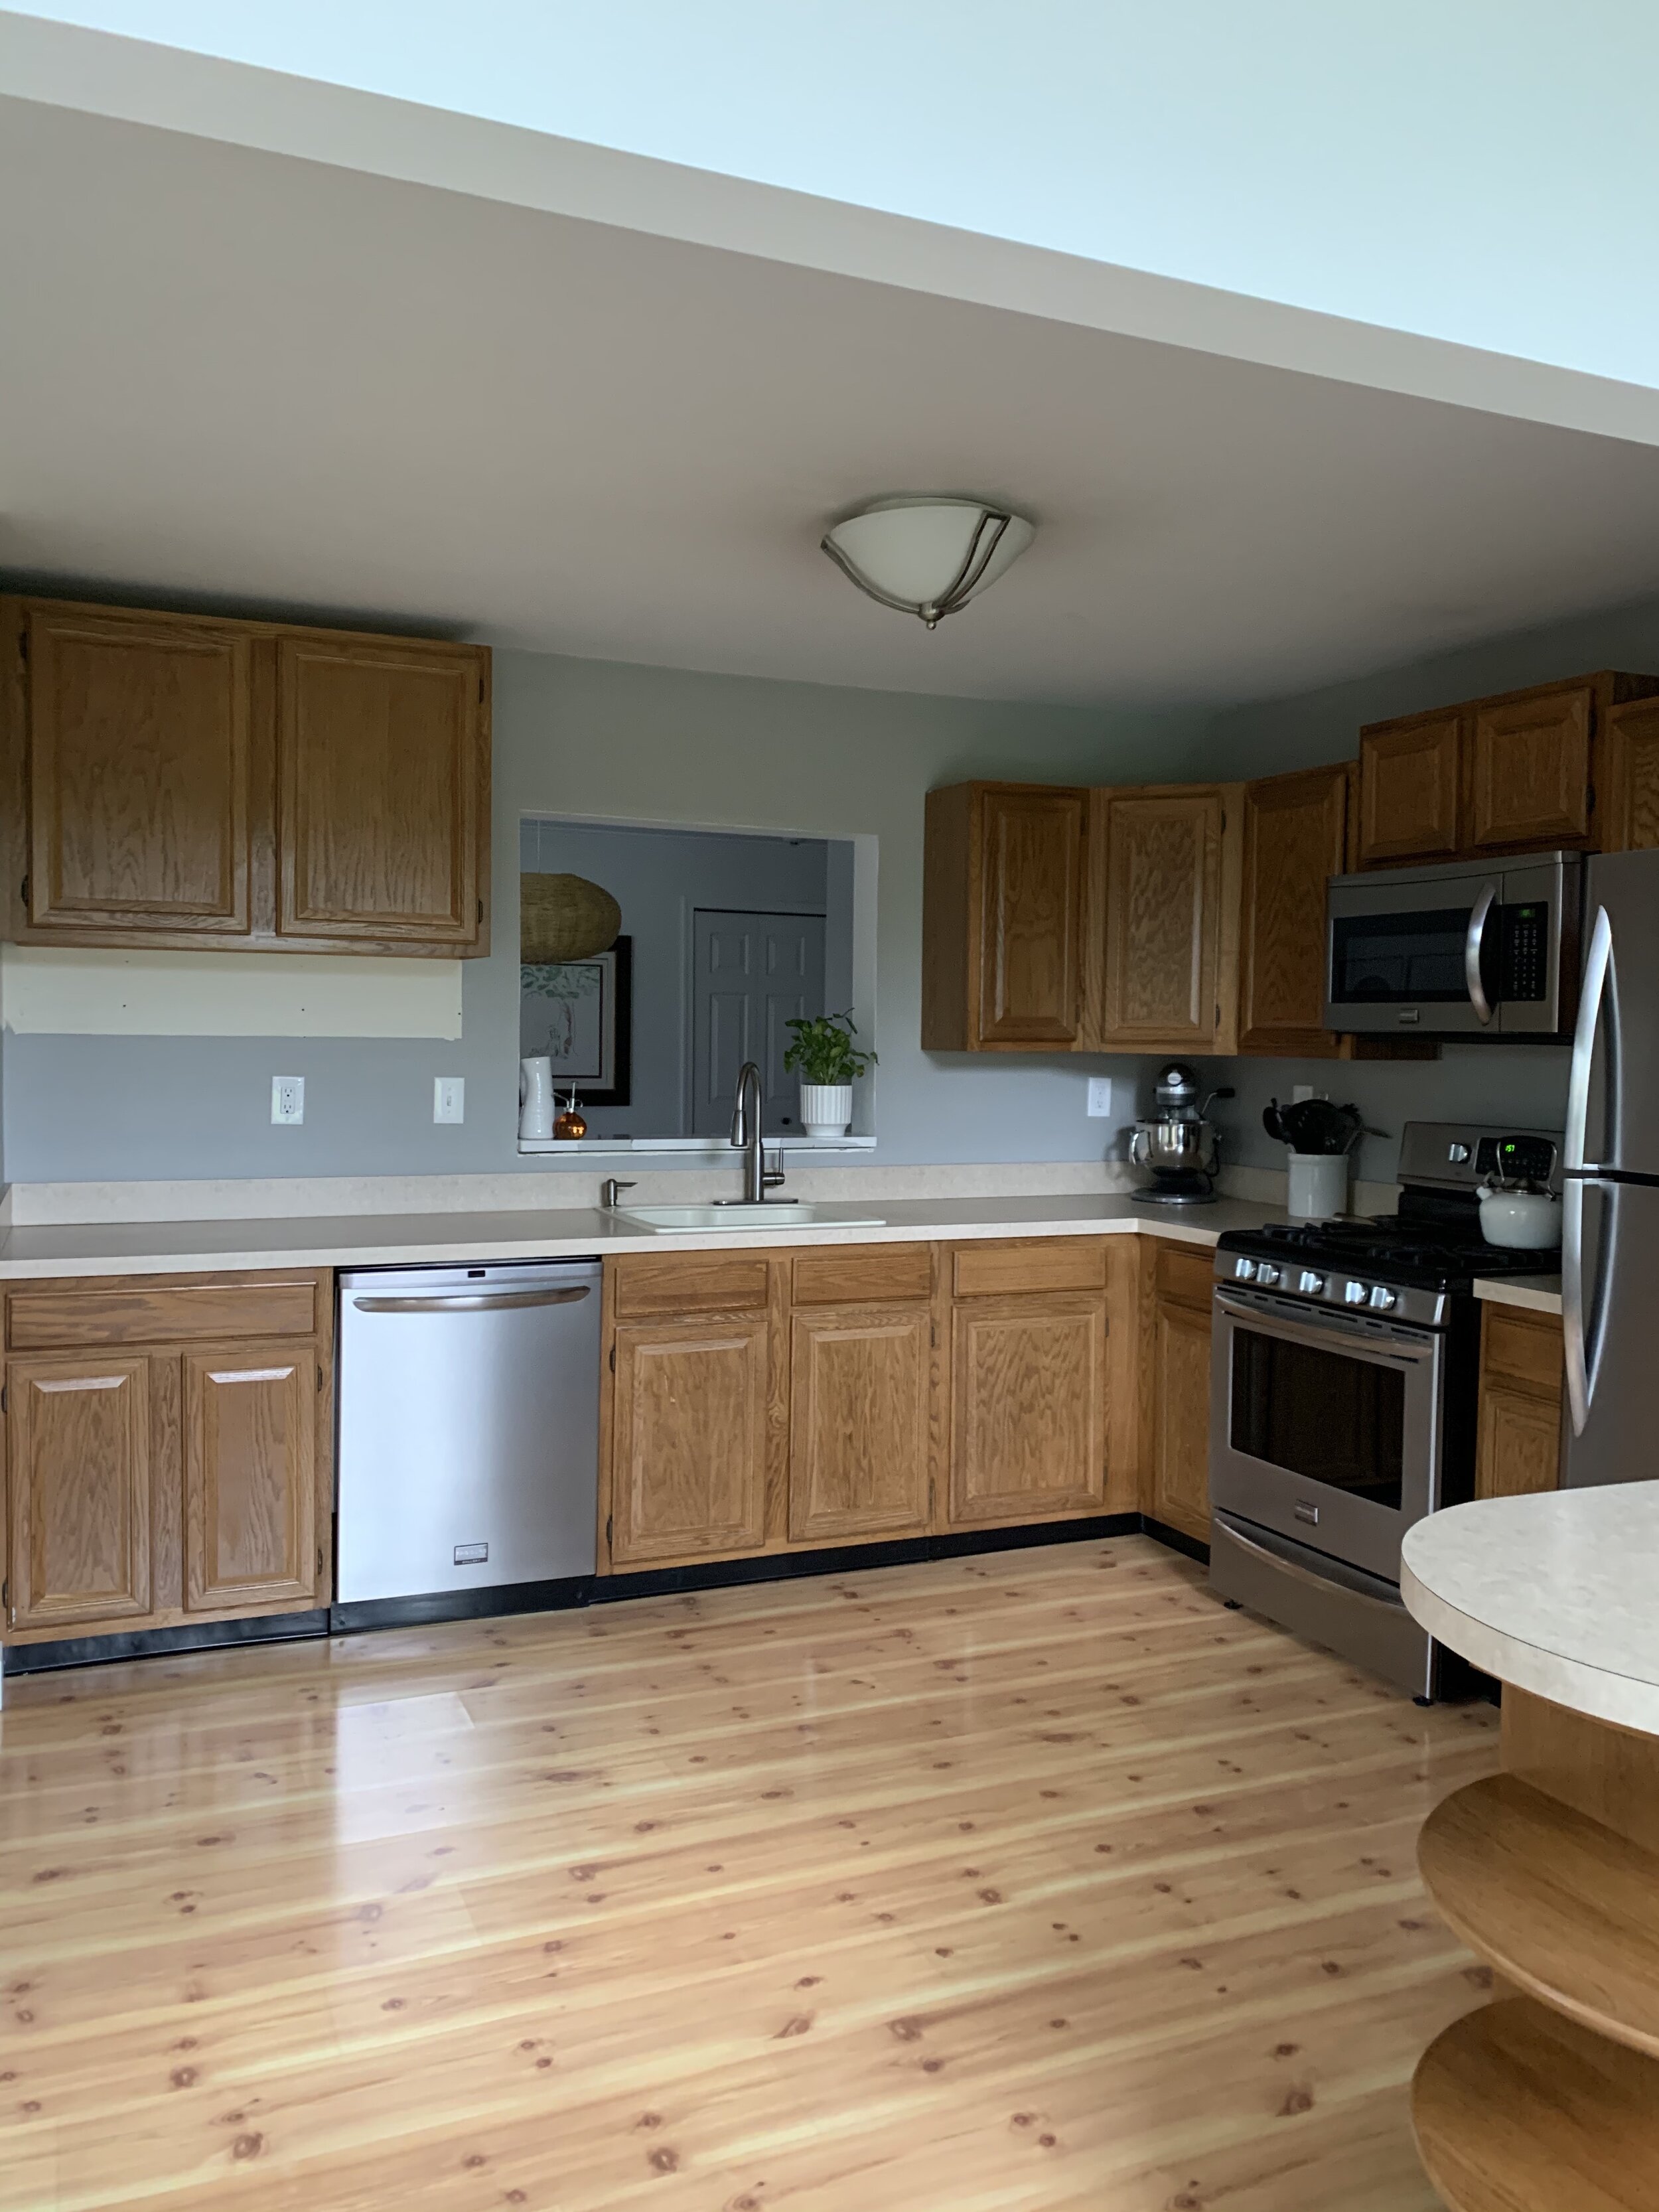
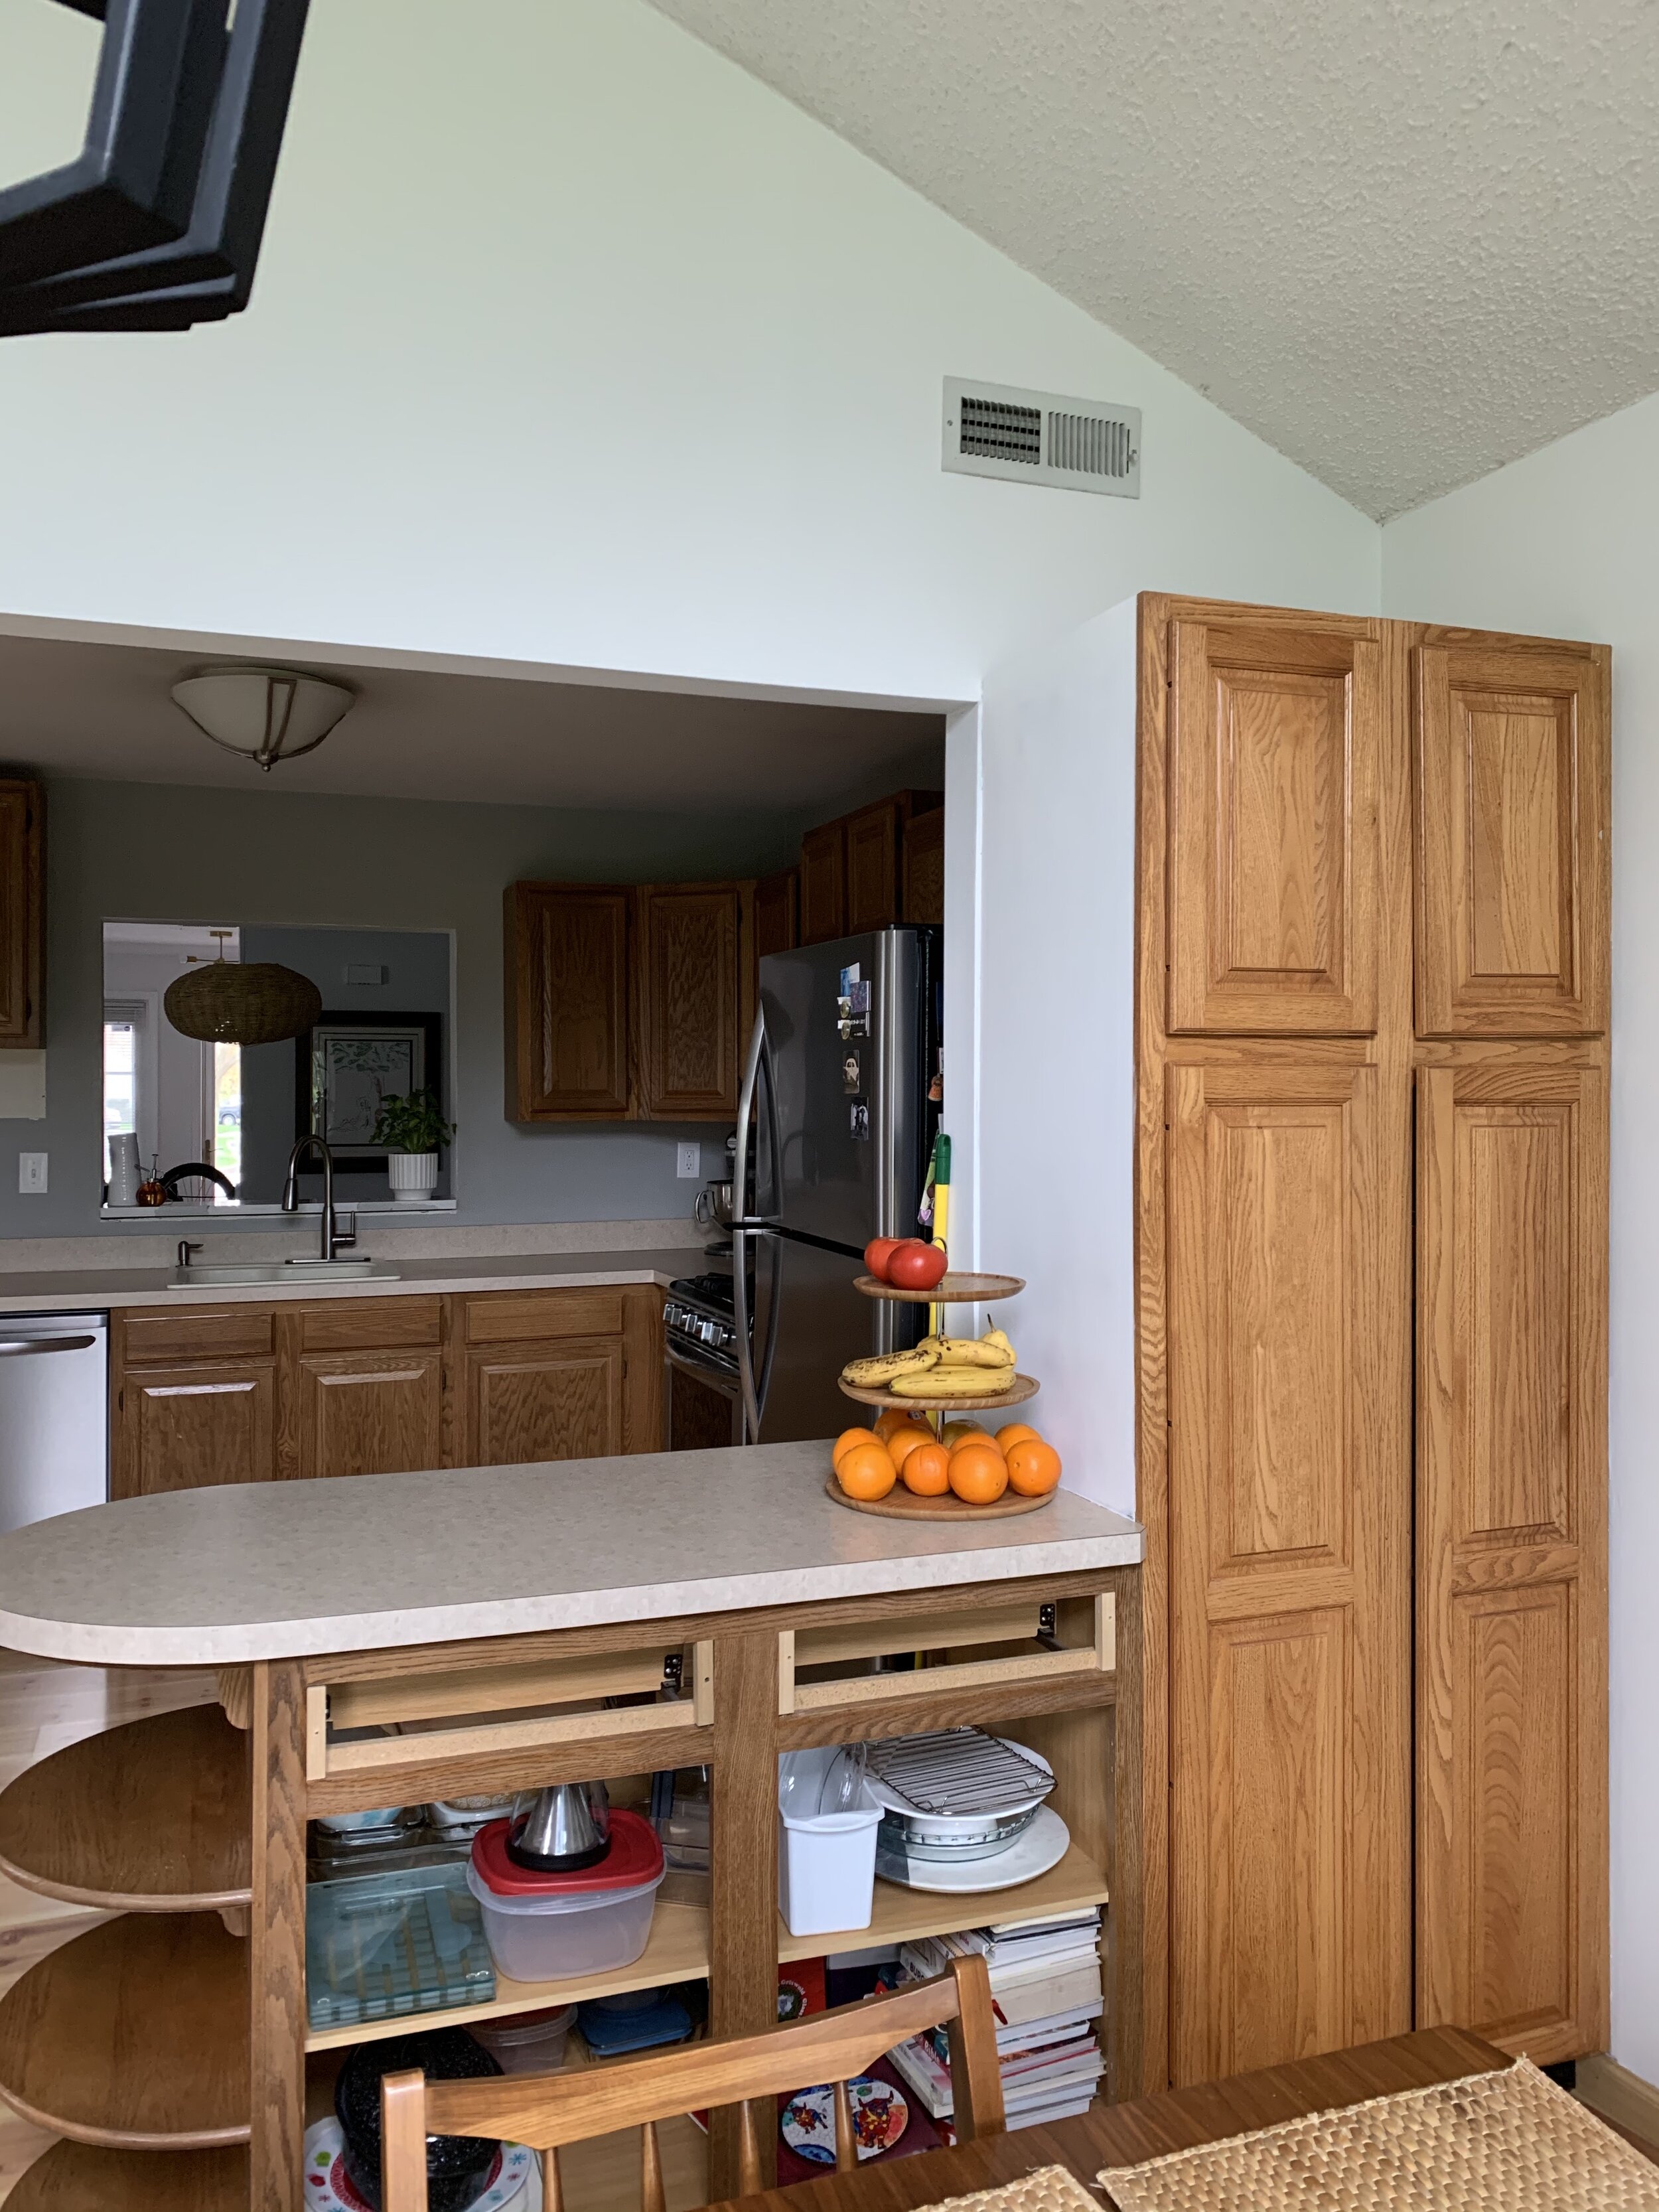
Before Photos/The Very First Updates
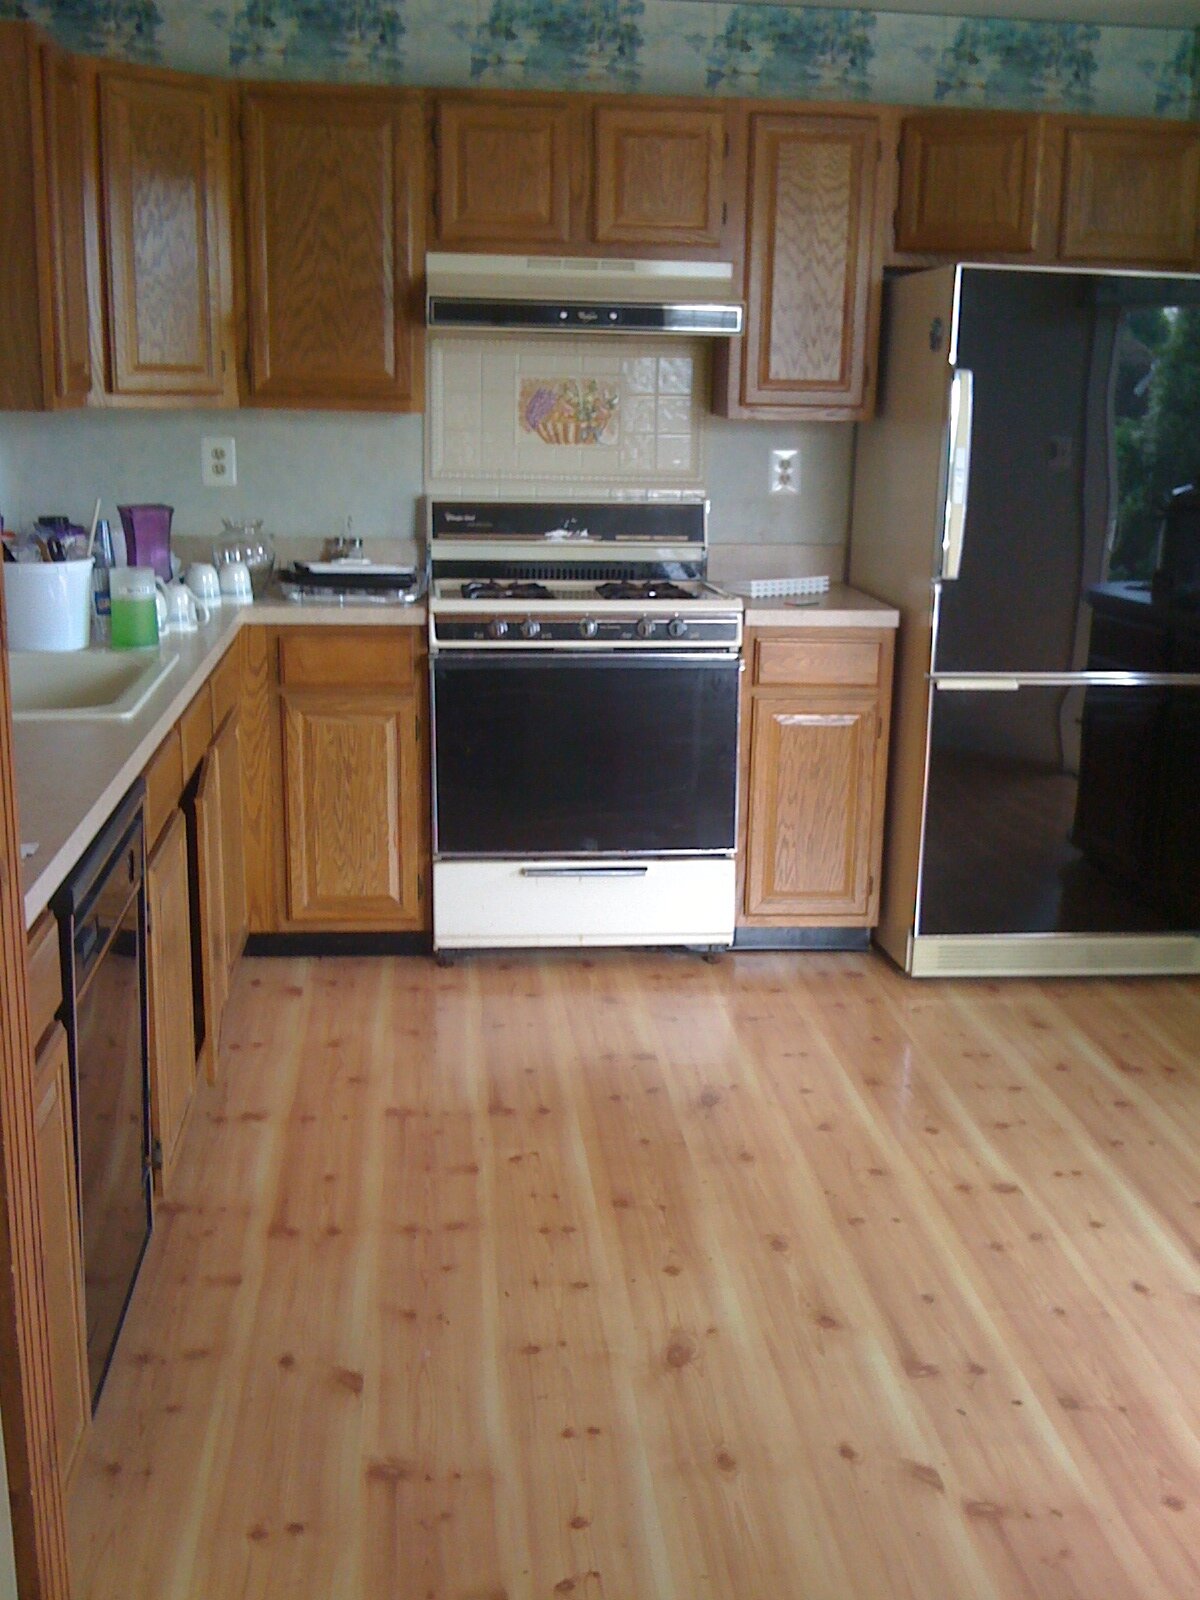
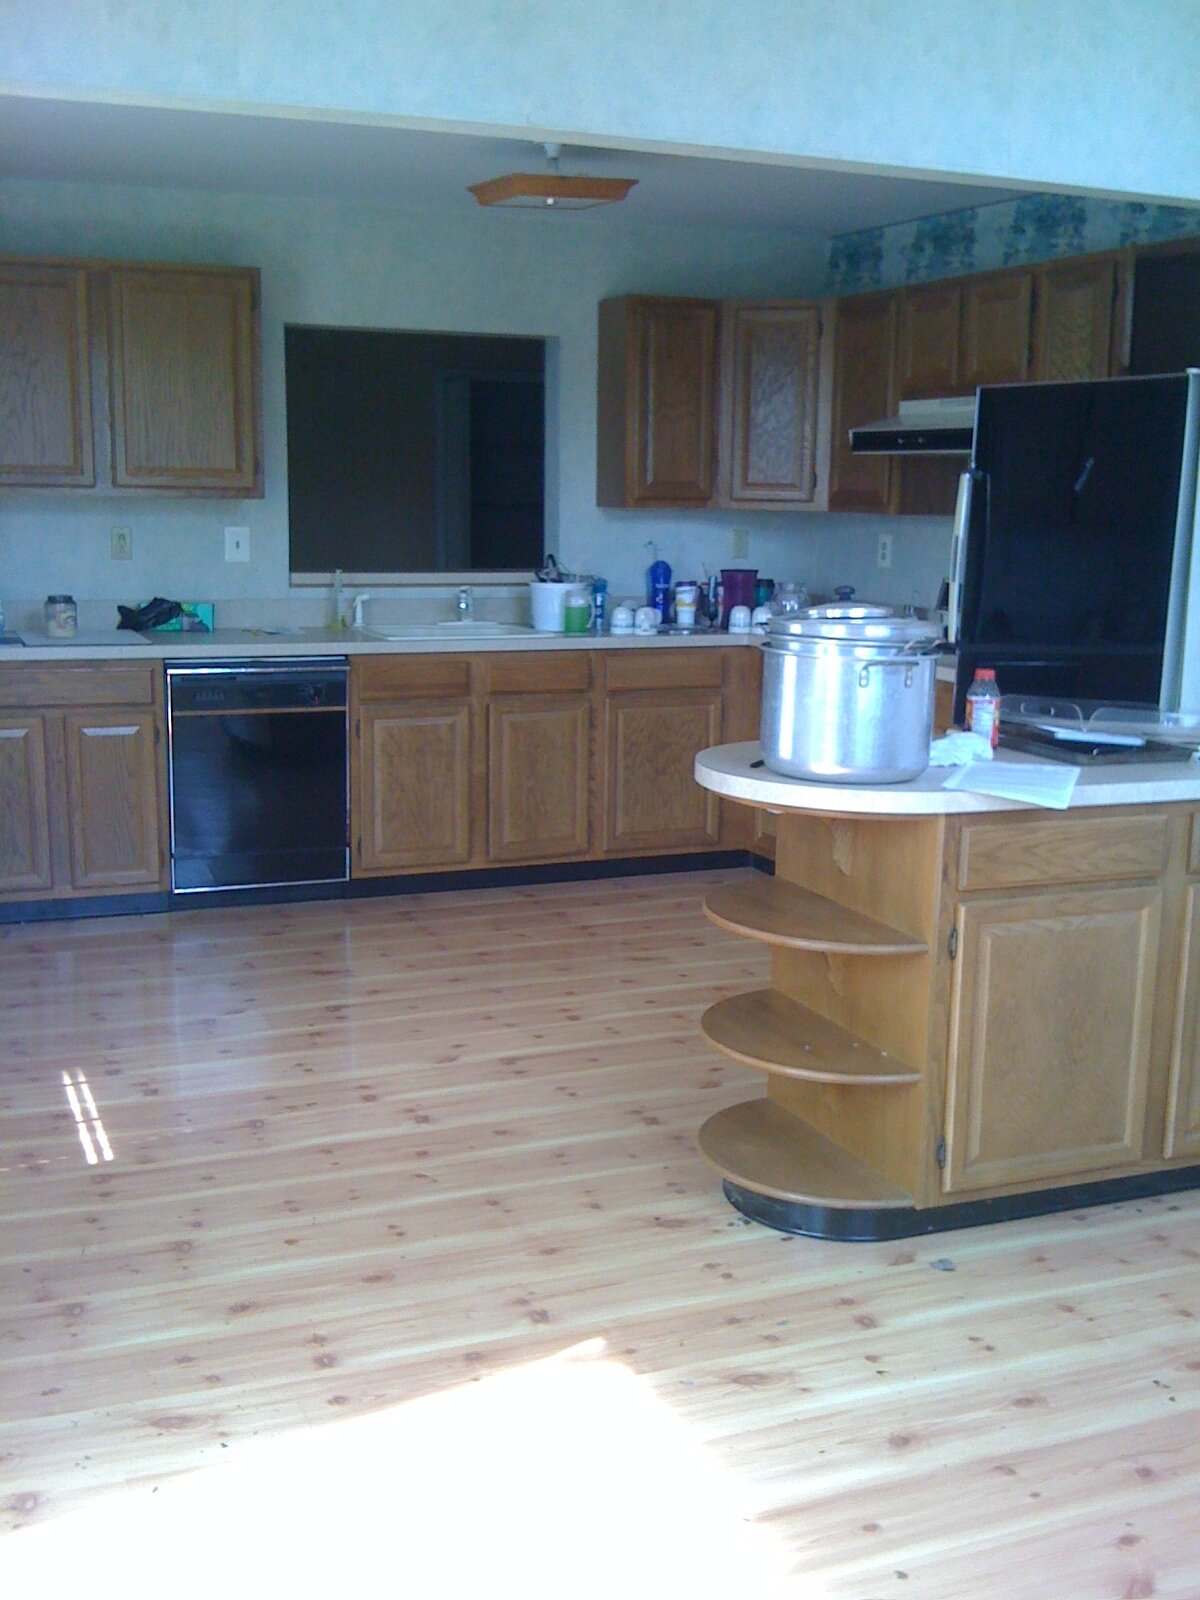
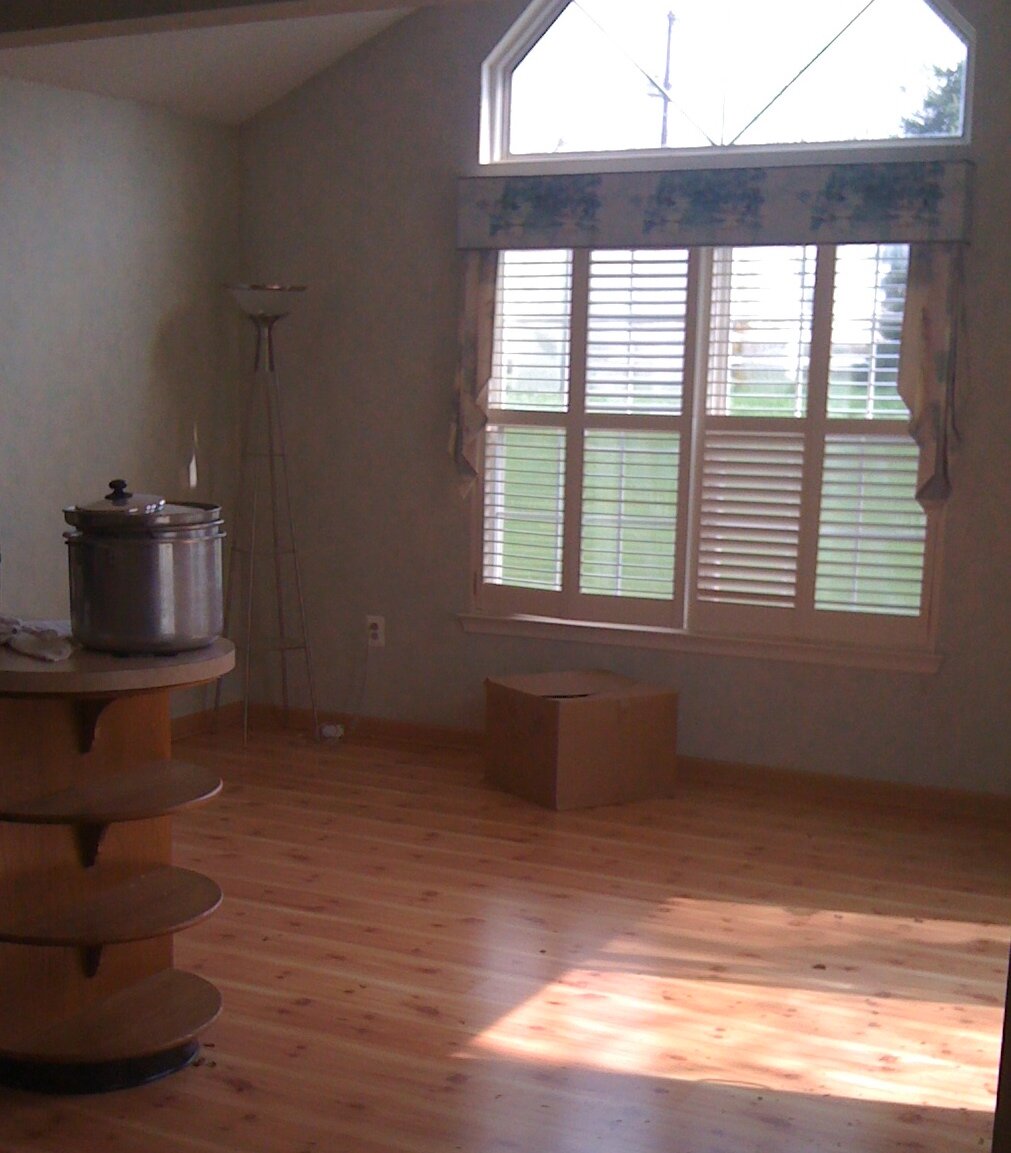
We did a few minor updates when we moved in. First was taking down the wallpaper that covered every inch of the kitchen and purchasing new appliances. We painted the walls grey, and that is where we left it until this update.
One of these days I will remember to take before photos prior to taking apart the room.

Photos Just Before We Moved In
So much goes into the planning phase of a project. Even with the most well-laid plans, bumps in the road are sure to happen. Having those initial guidelines and goals from inspiration to the floor plan, design board, and project list will always help keep you on track and stay the course.
thanks for reading - Kim
There are a whole handful of kitchen posts coming up that we cant wait to share. Make sure to subscribe to the kc newsletter below to catch the latest blog posts.